Introduction
Statistics Manager is a recently-delivered tool from Microsoft for viewing real-time Key Health Indicator statistics for your Lync or Skype for Business deployment. It’s useful for getting a real-time snapshot of the performance of a given pool, role, server or site and is customizable to display the information you’re most interested in. For more information, please see the planning documentation and the deployment documentation. For more information on KHIs, take a look at the Network Planning, Monitoring, and Troubleshooting documentation located here and download the KHI Analysis tool and associated guide here.
Note: I’ve installed the software on a VM called SQL02; SQL Server is not required for this installation and this machine was selected purely due to resource limitations in my lab environment.
Install the Statistics Manager Certificate
- Create the following INF file:[Version]
Signature=”$Windows NT$”[NewRequest]
Subject = “CN=<ServerFQDN>.contoso.local”
Exportable = FALSE
FriendlyName = “Statistics Manager Certificate”
KeyLength = 2048
KeySpec = 1
KeyUsage = 0xA0
MachineKeySet = True
ProviderName = “Microsoft RSA SChannel Cryptographic Provider”
RequestType = PKCS10[RequestAttributes]
CertificateTemplate=WebServer - Where ServerFQDN is the FQDN of the server.
- Generate the certificate request, request and accept the certificate:

- Open the certificate in the Certificates MMC snap-in and note the thumbprint:

- Click OK.
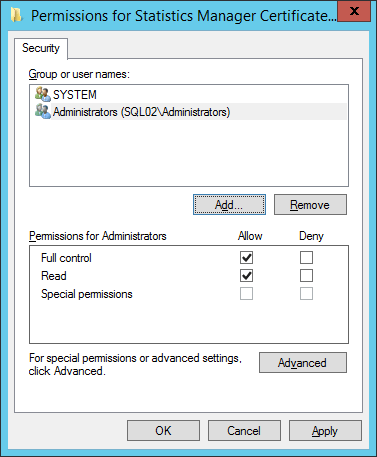
- The ACL must be modified to allow the Network Service to access the certificates private key; to do so, right-click the certificate and select All Tasks > Manage Private Keys.
- At the Permissions prompt, click Add:
- Enter NETWORK SERVICE in the Enter the object names to select field and click Check Names:
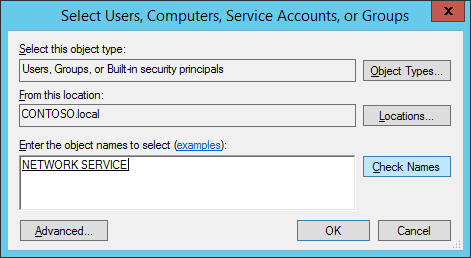
- Click OK. The Network Service account should be granted permissions as follows:
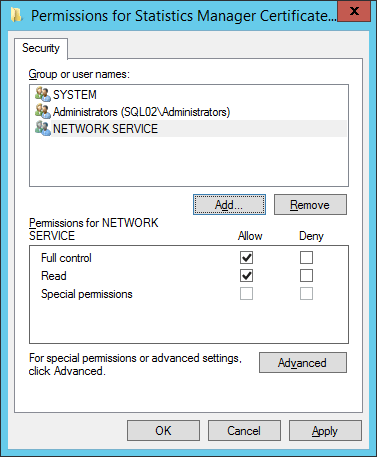
- Click OK to complete the certificate installation.
Prepare the Listener host machine
Install Redis:
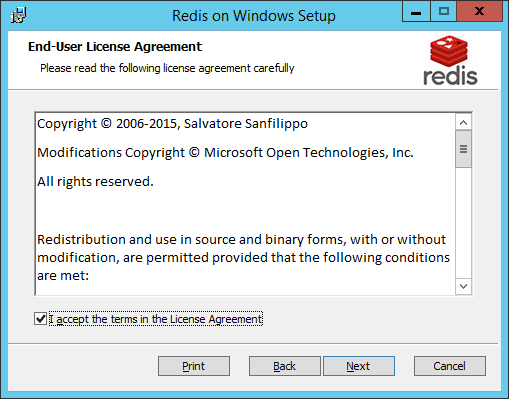
- Download the Redis MSI file here: https://github.com/MSOpenTech/redis/releases
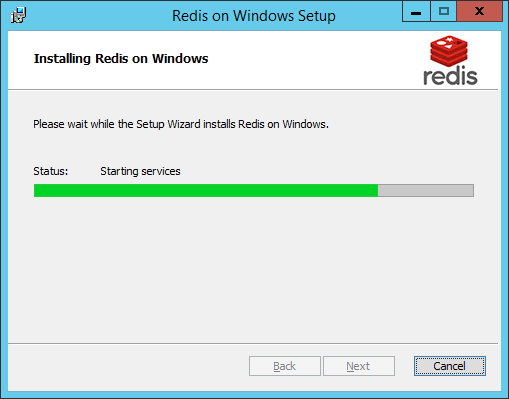
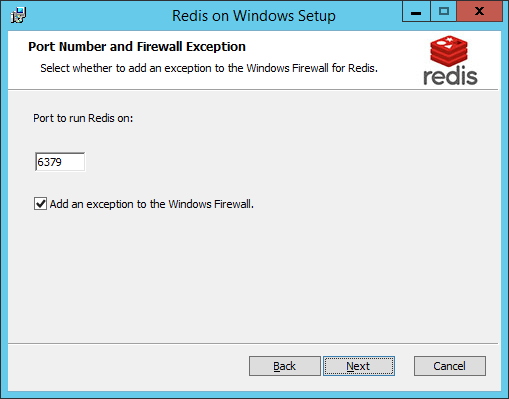
- Launch the MSI using the default settings:


- Download the StatsManPerfAgent.msi, StatsManPerfAgentListener.msi and StatsManWebSite.msi here: http://www.microsoft.com/en-us/download/details.aspx?id=49491
- Start the installation of the Listener service by launching StatsManPerfAgentListener.msi:
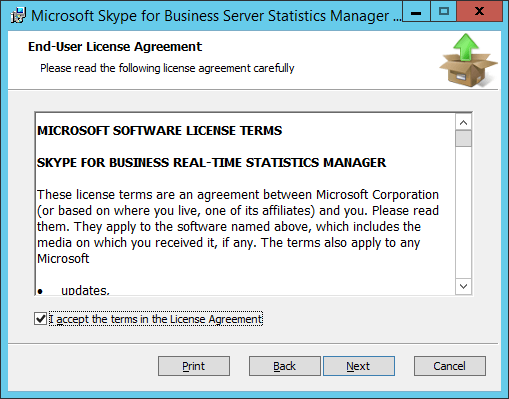
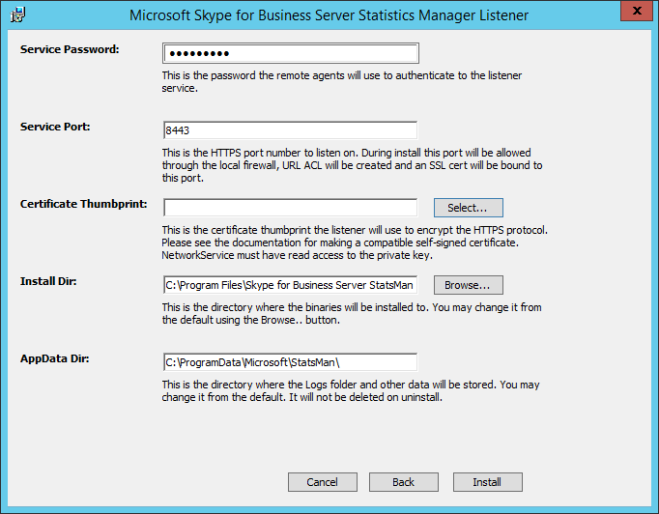
- Enter a password for the Service Password that the remote agents will use to authenticate to the Listener service:

- The Service Port can be left at the default of 8443.
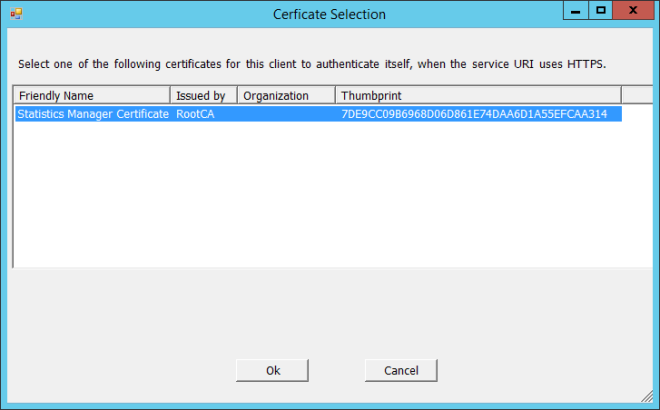
- Click Select… to choose the certificate created earlier:
- Click OK
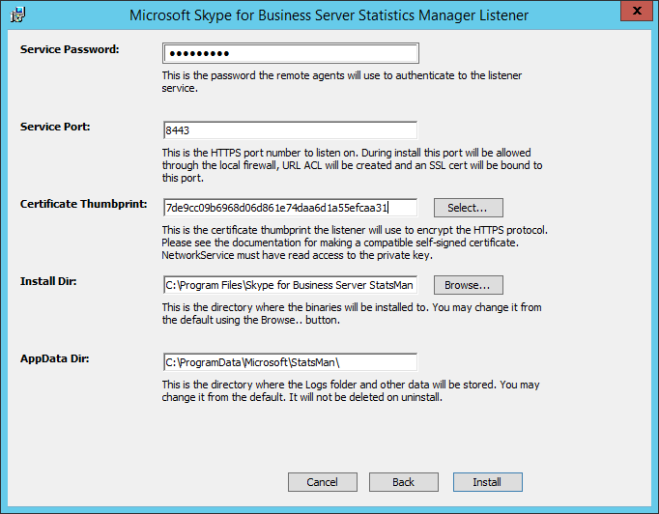
- Modify the installation and data directories as required and click Install.
- Click Finish to complete the installation:

- Verify the installation by browsing to https://<ServerFQDN>:8443/healthcheck/; the following page should be displayed:
Install the Website
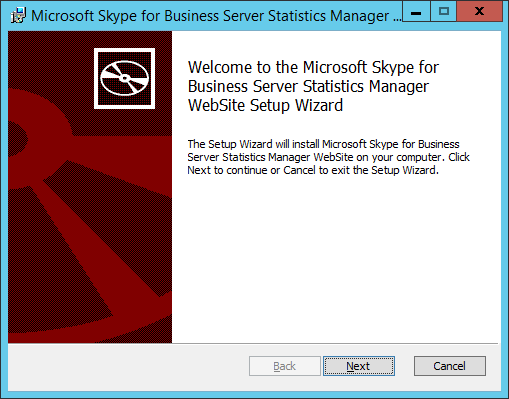
- Install the Website by launching the StatsManWebSite.msi:
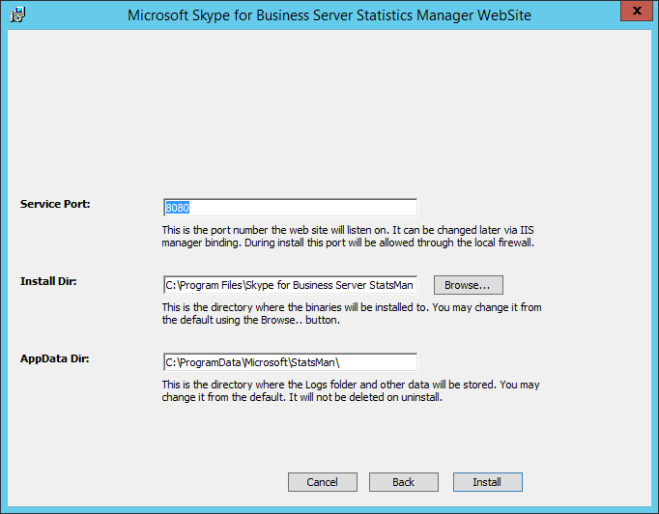
- Accept the defaults (the port number can be changed later if required by using IIS manager binding):
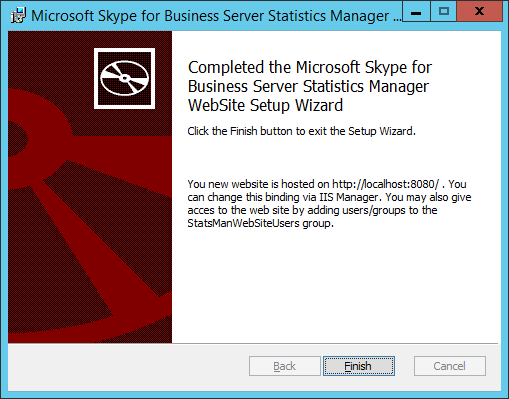
- Click Install; the required Windows Features will be installed:
- A security group called StatsManWebSiteUsers is created; add users to this group to grant them access to the web site.
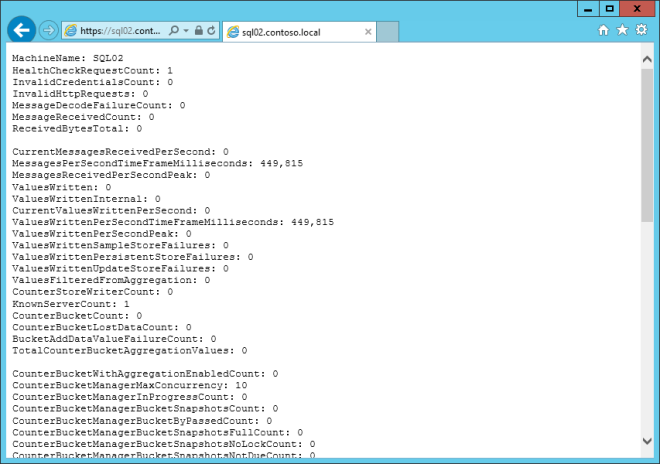
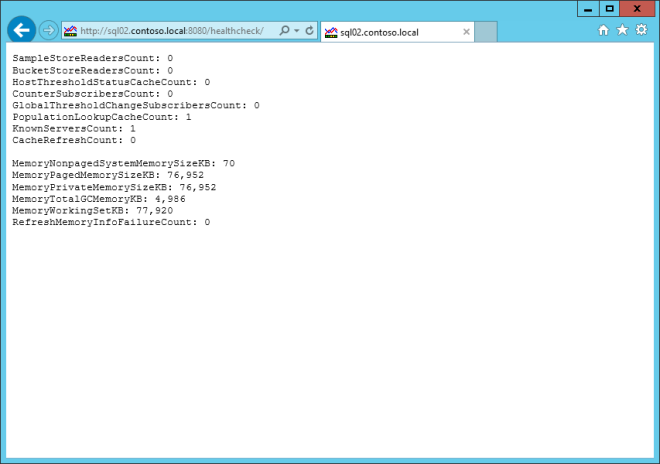
- Verify the installation by browsing to http://<ServerFQDN>:8080/healthcheck/; the following page should be displayed (you may be required to enter appropriate credentials):

Install the Agents
- Install the agent on each Front End server to be monitored by running StatsManPerfAgent.msi:

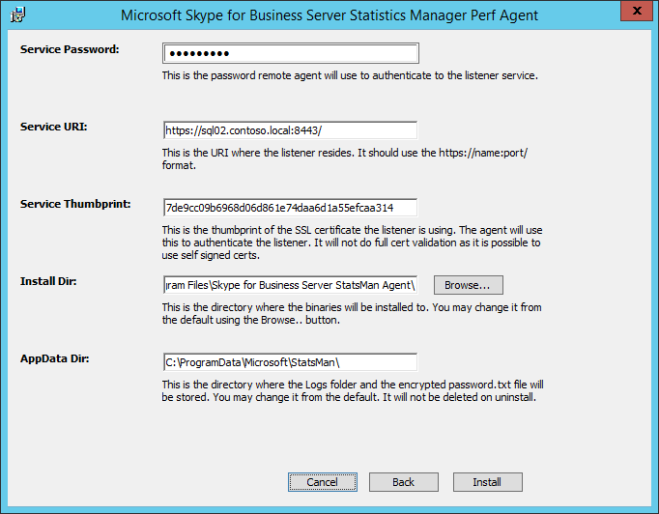
- Specify the Service Password (entered earlier), the Service URI and the Service Thumbprint from the certificate assigned to the Listener:
Note: If you copy the thumbprint directly from the certificate snap-in, non-printing characters will be present in the string and you will receive an error regarding the length of the thumbprint; to avoid this, save the string in a text file and then re-copy the string for pasting here.
- Click Install.
- Click Finish:

Import the topology
- The next step is to import the topology; to do so, run the following at a Lync Server/Skype for Business Management Shell:
Get-CsPool | Export-Clixml -Path <OutputFile>
Get-CsPool | Export-Clixml -Path Topology.xml

- Copy the output file to the Listener server
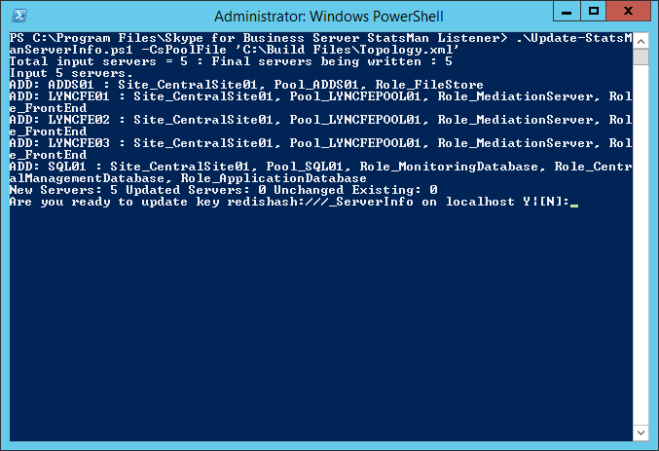
- On the Listener server, run a PowerShell prompt and change directory to (by default):
C:\Program Files\Skype for Business Server StatsMan Listener
- Run the following:
.\Update-StatsManServerInfo.ps1 -CsPoolFile <OutputFile>
- Enter Y at the resulting prompt:
Using Statistics Manager
- Browse to https://<ServerFQDN>:8080 to view the Statistics Manager web site.
- If you attempt this too early, you may receive the following:

- If this is the case, wait a few minutes and re-attempt; you should now see something similar to this:
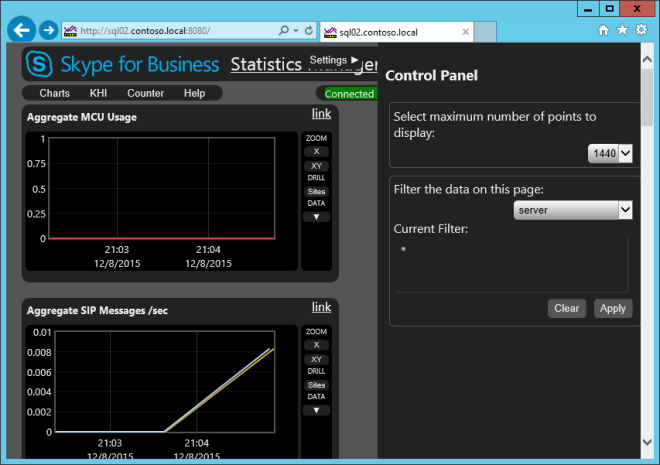
All done!
